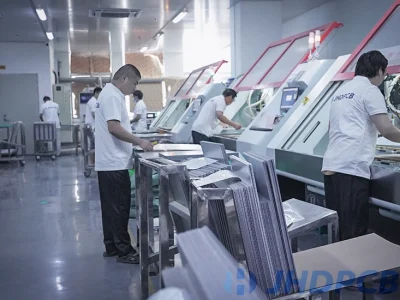
Ensuring Quality Assurance for Printed Circuit Boards
To meet our customers’ satisfaction, we prioritize producing top-quality PCBs. We adhere to ISO 9001 and QS 9000 quality standards, integrating a robust quality assurance system and utilizing advanced inspection equipment throughout our production process. This ensures stability and consistently high product quality. We continuously strive for improvement by incorporating advanced instruments and technological methods.
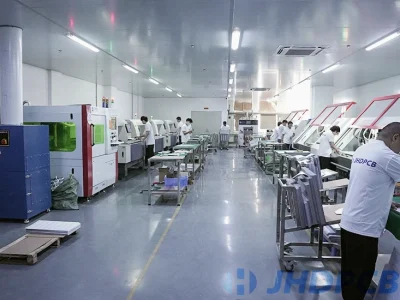
At RayMing, we employ advanced inspection and testing instruments to guarantee the reliability of our finished products.
Firstly, Design Rules Check (DRC): This critical step verifies the PCB layout against design constraints and rules, ensuring accurate component placement and trace routing integrity. Any design errors are promptly communicated to the customer for resolution.
Secondly, 100% Electrical Testing:
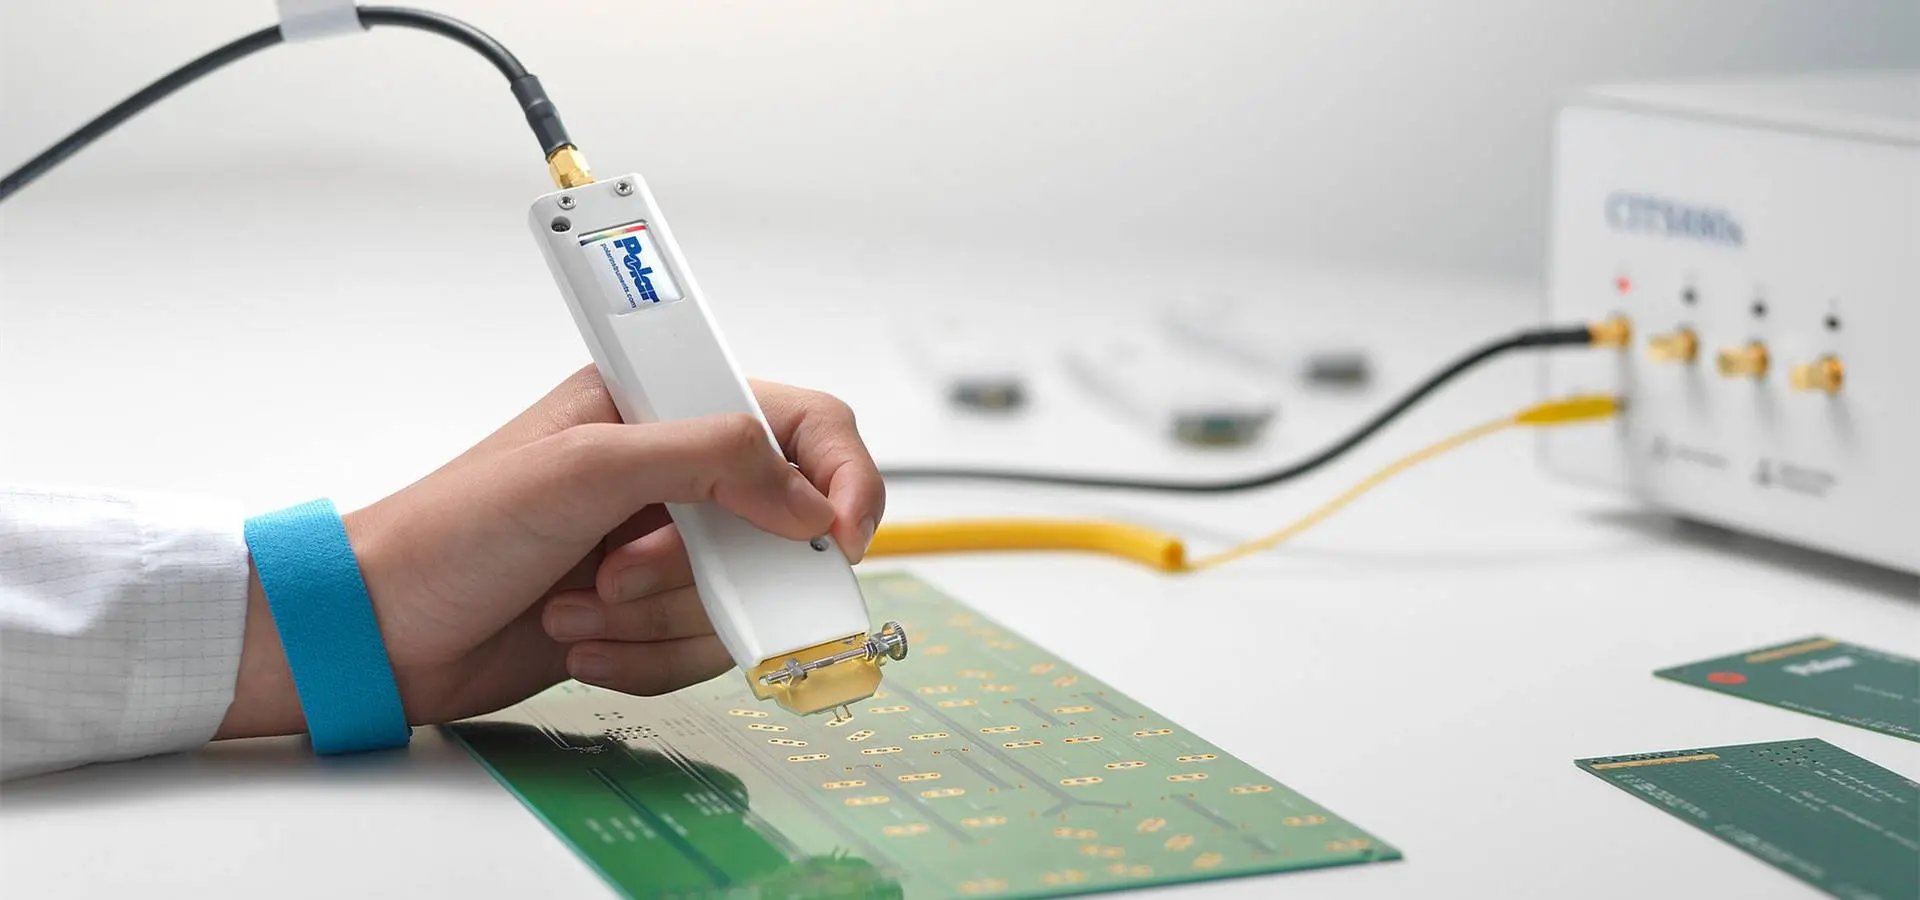
For prototype and small volume orders, we use Flying-Probe E-Testers, which offer flexible access and can detect short circuits, open circuits, and ensure design net accuracy. This rigorous testing results in a fail rate of less than 1%.
For production orders, we utilize Testing Fixtures with spring-loaded pogo pins. These fixtures allow simultaneous testing of numerous test points, verifying PCB integrity with a fail rate of less than 0.1%.
These stringent testing and inspection processes underscore our commitment to delivering reliable, high-quality PCBs to our valued customers.
Automated Optical Inspection (AOI)
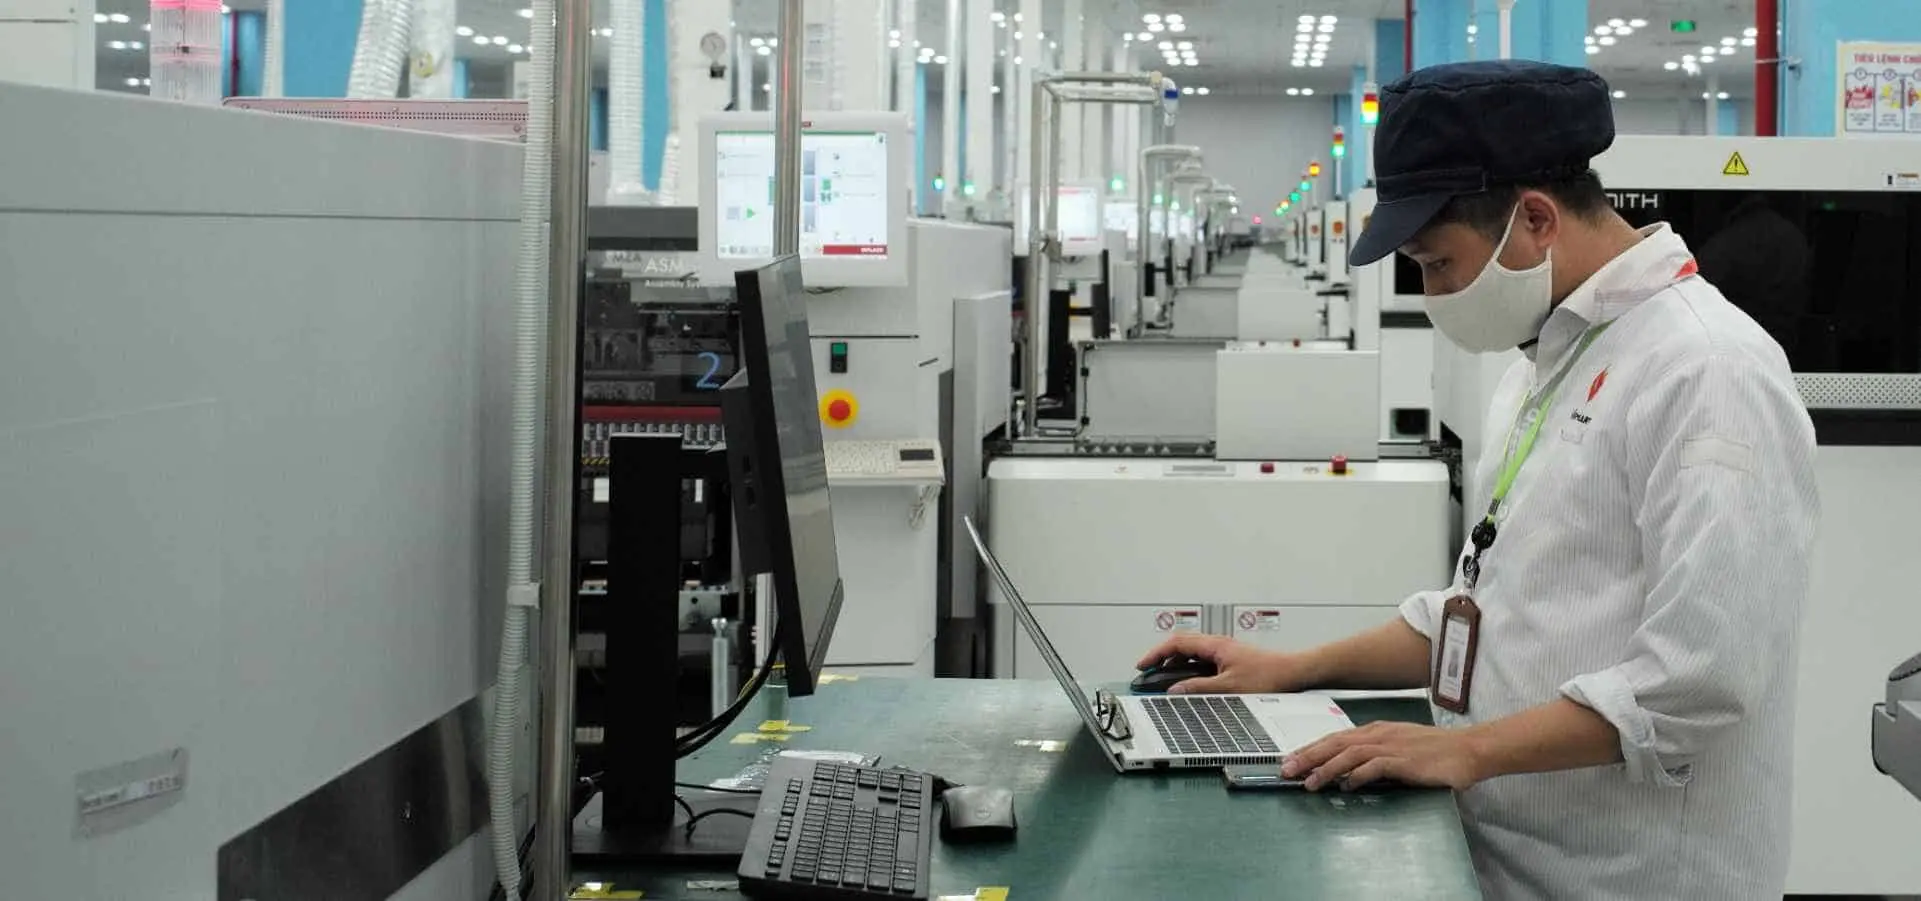
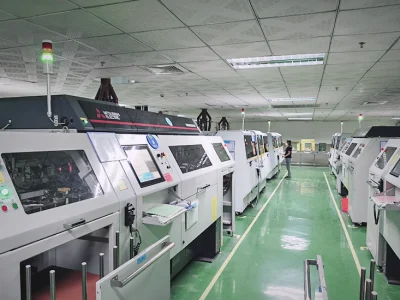
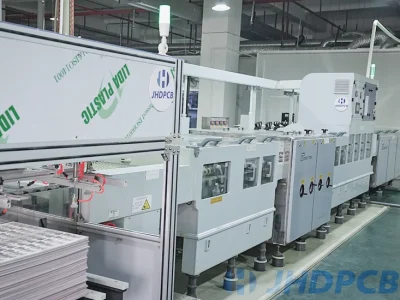
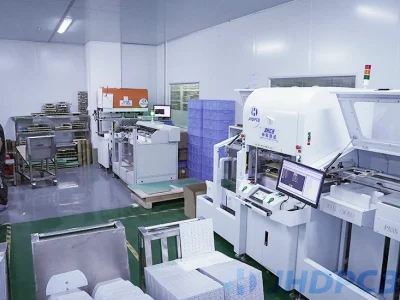
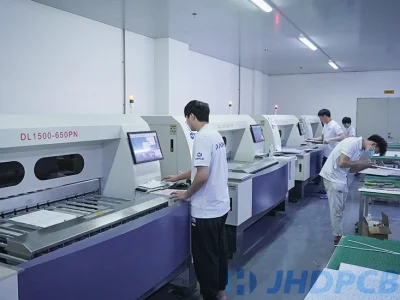
At our facility, we employ AOI technology to meticulously inspect the inner layers of multi-layer PCBs. AOI operates by visually scanning the PCB’s surface using multiple light sources and high-definition cameras or scanners. This comprehensive approach enables us to monitor every aspect of the board efficiently.
AOI for bare PCB inspection identifies various features including:
Violations in line width and spacing
Excessive copper presence
Missing pads or components
Short circuits
Cut traces or pads
Breakage of drilled holes (breakout)
This automated inspection method offers superior reliability and consistency compared to manual visual checks.
As an ISO 9001:2008 certified company, our quality control system is integral to our operations:
Our quality policy aligns closely with our business goals and customer needs, ensuring it is understood and followed by all employees.
We maintain detailed records of quality control data, tracking the processing of raw materials and products to identify and resolve potential issues.
Customer requirements are documented and communicated throughout our system, covering product information, inquiries, contracts, orders, and feedback.
Regular internal audits and meetings assess the effectiveness of our quality control system, driving continuous improvement.
Procedures are documented for handling non-conformances, ensuring prompt quarantine and resolution of any defective products. Root cause analysis is conducted to prevent recurrence, with all actions recorded for ongoing system enhancement.
This comprehensive approach underscores our commitment to delivering high-quality PCBs while maintaining stringent quality standards and customer satisfaction.
Various PCB Testing Methods
Flying Probe Test:
The flying probe test employs electromechanical probes to access PCB components. Each probe moves precisely under control of a precision transmission system, achieving accuracy up to 0.01mm. While effective for detecting short circuits and continuity issues, this method is slower, typically taking 1-3 minutes per board, making it suitable mainly for small-volume orders.
Electrical Test (E-Test):
Essential for PCBs with blind vias or buried vias, the electrical test utilizes an E-tester fixture equipped with test pins designed for panel testing. This method ensures quick and efficient testing, capable of testing a full panel in about 1 minute, ideal for bulk orders and ensuring no missing connections.
X-ray Inspection:
X-rays provide non-invasive, high-resolution imaging of internal PCB quality, ensuring thorough inspection without damaging the board.
Saw Testing:
While destructive to individual boards, saw cutting offers valuable insights into the overall assembly process, especially for through-hole inspection, recommended primarily for mass production runs.
Manual Inspection:
Complementing machine testing, skilled inspectors adhere to IPC-A-600 standards throughout production. From raw material inspection (IQC) to final shipment checks (OQC), this ensures comprehensive defect reduction. Additionally, a dedicated quality inspection team performs visual inspections before shipment to detect shape or solder mask defects missed by machines.
Visual Inspection:
In low-volume production, visual inspection involves meticulous scrutiny by assembly personnel under optimal lighting conditions. This method ensures every connection is thoroughly examined for excess solder, component alignment, and potential rework needs.
Microscopic Inspection:
Using handheld optical tools or microscopes, inspectors magnify PCB connections for detailed scrutiny on a larger screen, enhancing visual inspection accuracy and reducing eye strain.
Functional Testing:
Post-fabrication, functional testing involves powering up the PCB and executing self-tests to ensure all components operate as intended, validating overall functionality and performance.
